# Git(Hub)
- Git is a version-control system for tracking changes in source code during software development
- Git is designed for improving teamwork among developers but it is also suited for individual work
- https://git-scm.com/
# Installation
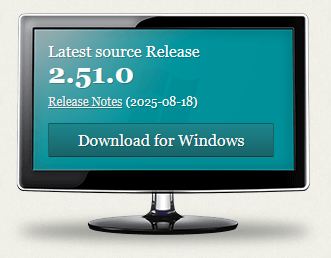
- Download the installation file (Git-2.51.0-xx-bit.exe)
- Open this file to install Git with the default settings
# Your GitHub account
# Create your GitHub account
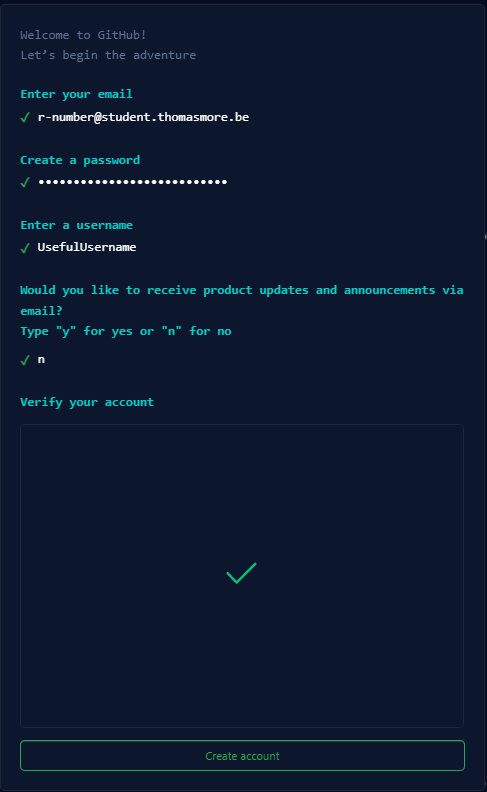
- Go to https://github.com/join
- Choose a clear and professional username (firstname_lastname is always a good idea!)
- Use your THOMAS MORE email and choose a password
- Click on Create account
REMARKS
- Your GitHub repository is a part of your resume, so choose a professional username!
- If you already have a GitHub account with your personal e-mail, you can use this guide to add your THOMAS MORE email to your existing account and set it as primary.
- Complete the next steps (some additional info about you as a developer)
- Find the activation email in your inbox and click on Verify email address
# Activate your educational account
- As a student you can get a lot of benefits which will come handy in the following months and years
- Log in to GitHub (https://github.com/login)
- Go to https://education.github.com. Click on Students in the menu and click on the Join GitHub Education button
- Confirm that you're a student (aged 13 or older) and answer the question how you plan to use GitHub (e.g. "in our webdesign courses")
- Your application for GitHub education is completed when you receive a confirmation email
# Complete your GitHub profile
- Go to https://github.com/settings/profile
- Fill in your real name in the name field. The other fields are optional.
# GitHub token configuration
- You can only work with GitHub on your local device if you create a personal access token and add it to your device credentials
- Follow the next steps to create and register your token
# Creating a personal access token
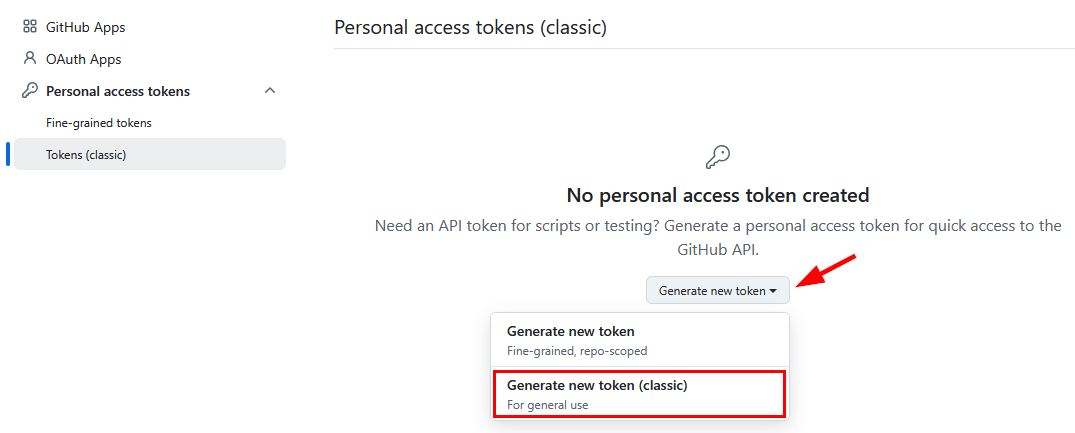
- Go to https://github.com/settings/tokens, click on Generate new token and next on Generate new token (classic)
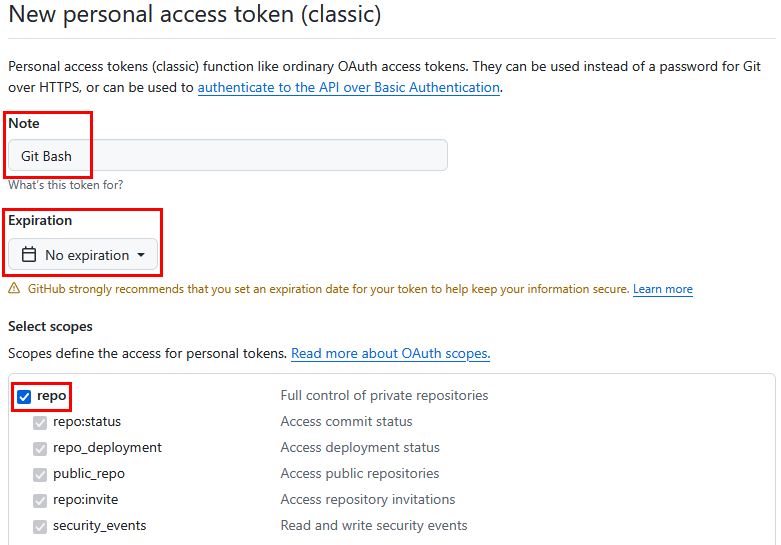
- Give your token a descriptive name (e.g. Git Bash), set the Expiration to No expiration and select at least repo (you can add more scopes later if you want)
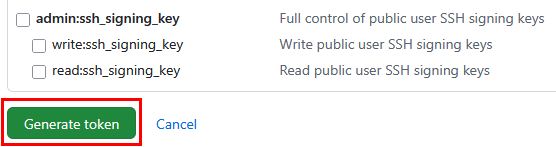
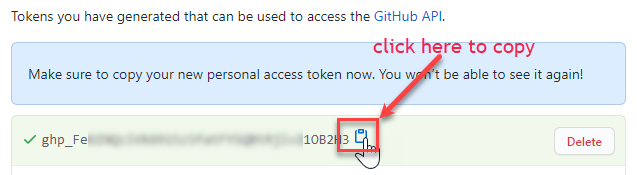
- Click, at the bottom of the page, on Generate token
- Make sure to copy your new personal access token (you won’t be able to see it again!) and save it somewhere (in a new text file, in the vault of your password manager, ...)
# Update your cached credentials
- If you already used Git, you have to update your old
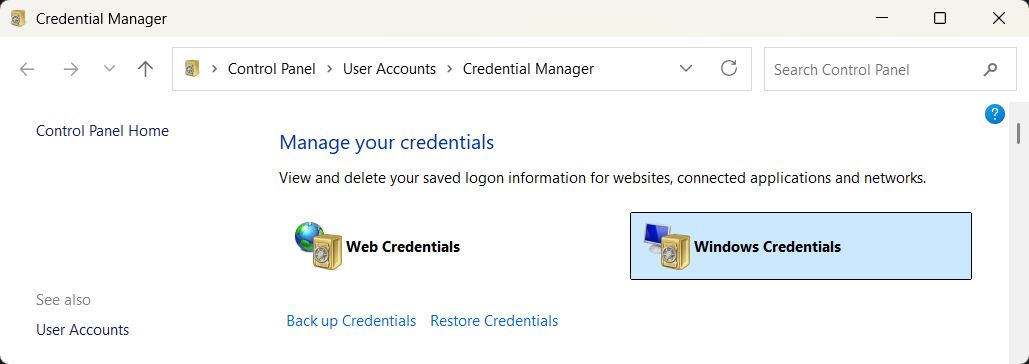
username/passwordcredentials first - Click on the Windows start button and search for Credential manager (in Dutch: Referentiebeheer)
- Click on Windows Credentials (in Dutch: Windows-referenties)
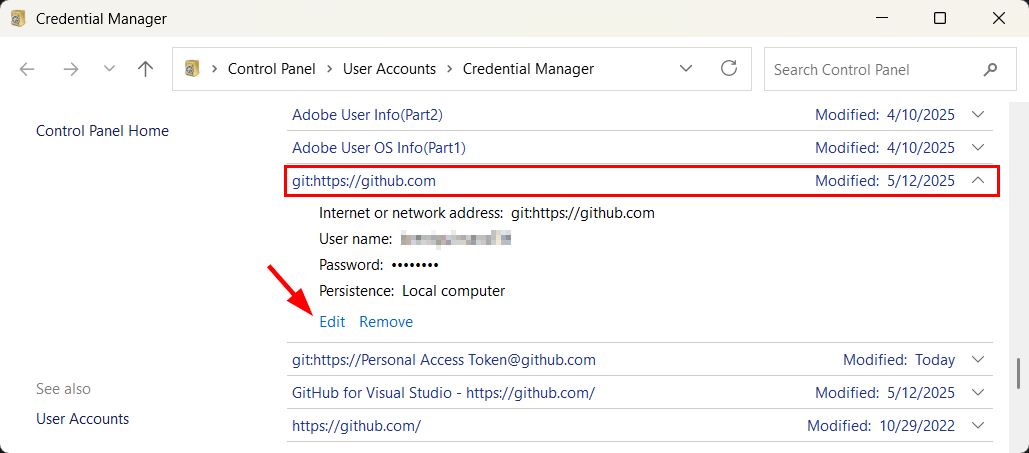
- Search for (scroll to) git:https://github.com
REMARK
If you don't see git:https://github.com you can skip the next action
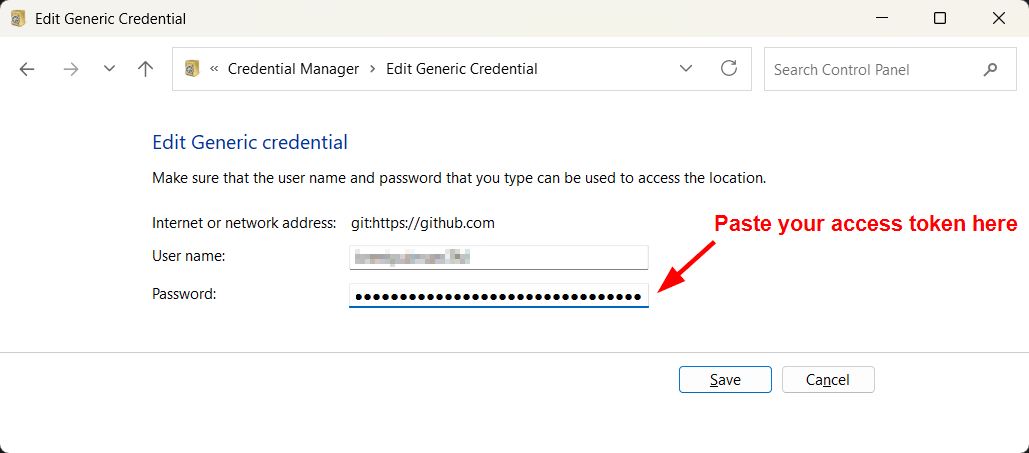
- Click on Edit (in Dutch: Bewerken) and replace your password with your access token
# (Only) If you haven't used Git Bash before
- The first time you use Git Bash for GitHub, you'll get a pop-up window where you have to paste your access token

- Now your credentials are stored inside the Windows Credential manager
Working on multiple devices
- If you want to work on multiple devices (laptop, desktop, etc.) you have to repeat the previous (Update your cached credentials) step for each device
# Configure Git on your device
- Open Git Bash in a random folder
- This can be done by right clicking on an empty place in the folder view (in explorer). Then select Git Bash Here
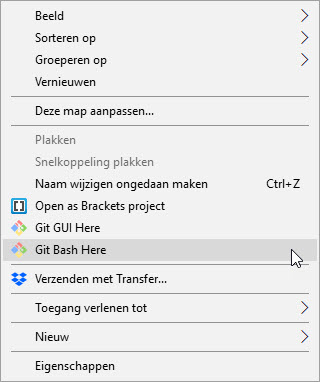
- This can be done by right clicking on an empty place in the folder view (in explorer). Then select Git Bash Here
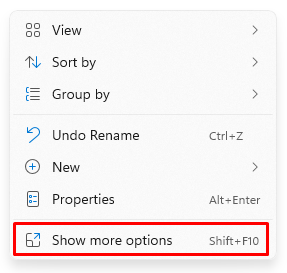
Windows 11
Windows 11 users first have to select Show more options, then select Git Bash Here!
- Execute the following 3 commands:
$ git config --global user.name "yourName"
$ git config --global user.email "yourThomasMoreEmail"
$ git config --global core.editor notepad
1
2
3
2
3
WARNING
If you plan to work on your webprojects on multiple computers, you should configure Git (execute the previous 3 commands) on each of these devices!
# Commands
- When working with Git there is a basic work flow you have to follow
- Let's say we already made you a start project for this course, hosted on GitHub as a remote Git repo(sitory). To get started, you first have to clone this repository on your local device. This results in a folder (with the content of this repository) in which all your work on this project will be saved locally.
- Assume this start project contains a folder where you should do an exercise. At regular times, for example when you finished (a substantial part of) the exercise, you have to add your work locally, commit it locally and push it online to the remote GitHub repository.
- Each step in this flow corresponds to a command-line instruction:
| command | when | what |
|---|---|---|
git clone https://github.com/xxx.git | Only once on each device | Downloads the specified Git repository in a folder xxx on your device. This local repository/folder is your working environment/tree. |
git add . | After making any changes and before running the git commit command | Adds added/changed files to staging area |
git commit -m "message" | When your work (or a certain part) is done | Bundles all files in the staging area (added by the previous git add commands) into one commit |
git push | When you want your work to be published to the online GitHub repository | Publishes all commits to the online GitHub repository |
git pull | When you want to get the latest published version | Updates your local GitHub repository to the latest published version |
git status | At any moment in the work flow | Shows the status information of the repository |

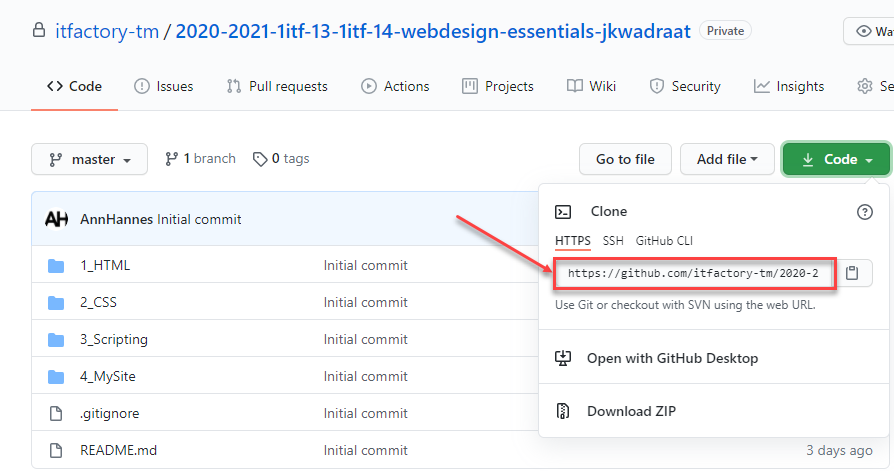
# git clone
- Every repository is hosted on an online hosting platform. GitHub is the world's leading platform and therefore also the one we will use throughout this course.
- A repository lives online on GitHub. When you want to work in it, you will have to copy it onto your own device. To achieve this, you have to perform the
git clonecommand.
REMARKS
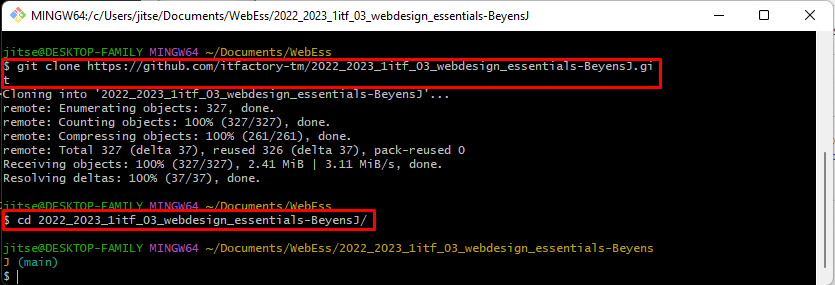
- Do not forget to navigate to the folder of the local repository (
cd xxx) after cloning, because otherwise the commands below will not work- When you are in a folder with a local repo in it, Git Bash adds
(master)at the end of the folder name
- When you are in a folder with a local repo in it, Git Bash adds
- By default, the command
git clone https://github.com/xxx.gitclones the repository into a folder with name xxx- You can change this folder name (in explorer) afterwards, or you can use the clone command
git clone https://github.com/xxx.git yyywith an additional argument yyy, which is then the folder the repo will be copied in
- You can change this folder name (in explorer) afterwards, or you can use the clone command
# git add
- Now that you cloned the repository locally on your device, you can start working in it. The ideal scenario could be the following:
- I'm going to make exercise 1.
- I write some HTML code and finish the exercise.
- I add all the changed files to the staging area using the
git add .command, so I can commit them later on (see the next step).

REMARK
You don't have to wait to perform the git add . command until the whole exercise is finished. You can execute git add . multiple times and whenever you want, but usually you add files when you are ready to perform a commit.
# git commit
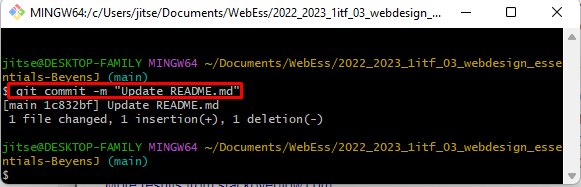
- When you have finished your exercise/task/work it is time to commit all your changes
- A commit is a bundle of all the files in the staging area
- Each commit must contain a message, describing what kind of work you did
- For example:
git commit -m "Update README.md"
- For example:
REMARKS
- A commit does not publish your work to your online GitHub repository. It only bundles and prepares it locally! If you want your work published online, you still have to perform the
git pushcommand. - You can have multiple commits locally before pushing them online (at once)
- There is no restriction in the amount of commits you can create
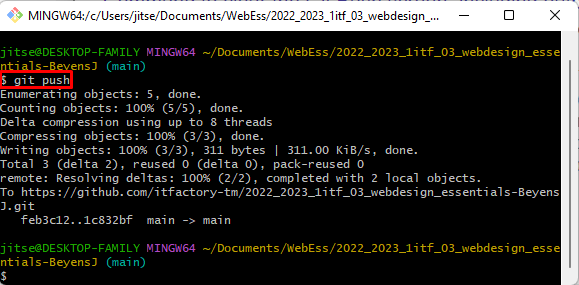
# git push
- After you have created your commit(s) it is really important to perform the
git pushcommand, as this will send your commit(s) to your online repository - Pushing is the last step in the git workflow
- After a push you can start working on another exercise/task and follow the work flow again from the beginning
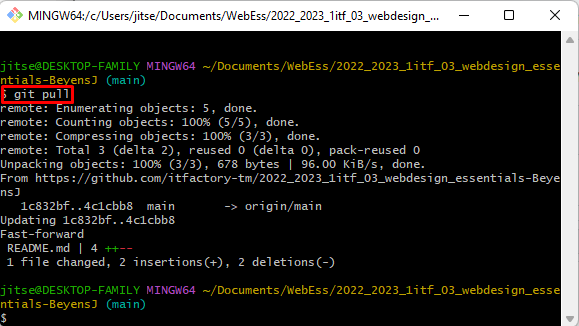
# git pull
- The
git pullcommand updates your local repository to the latest published version on GitHub. All the pushed commits (your own, your teacher's, your team member's) will be joined in your local repository. - There are a couple of scenario's where a
git pullcomes in handy:- You are working on multiple devices
- You did some work on your home computer but you want to continue working on your laptop at school the other day
- You'll have to execute the
git pullcommand on your laptop so you have the latest version there
- Your teacher adds new content to the repository
- You are working in a team and one or more team members have pushed some functionalities to the repository
- You are working on multiple devices
WARNINGS
- The
git pullcommand can only be executed if your local repository is "clean", that is- all local files are added AND
- all local files are committed
- If this pull command results in a merge conflict, contact your teacher!
- Be careful when working on different devices
- Avoid working "simultaneously" on the same files/exercises on different devices
- Always commit and push your work to the remote repo
- In the follow-up course Webdesign Advanced, we will elaborate further on this topic (when we discuss a more advanced Git work flow tailored towards team work)
- Be careful when working on different devices
REMARK
You can do no harm whatsoever by executing the command git pull when there is no need to:

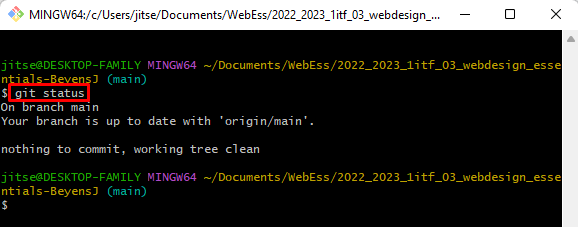
# git status
- The
git statuscommand shows the status of your repository and can be executed at any time during our work flow - Examples
- After cloning the repo
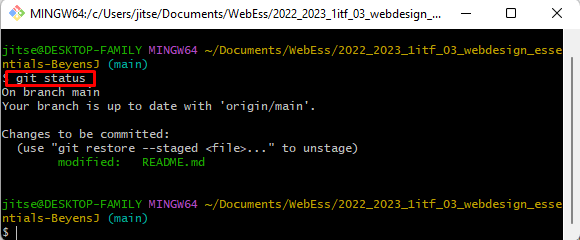
- After changing the file README.md: the modified file (which is not added to the staging area yet) is displayed in red

- After adding the changed file README.md to the staging area: the modified file is displayed in green
- After commiting
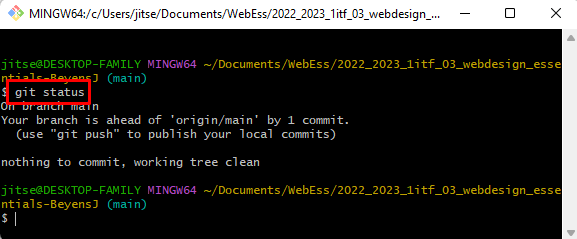
- After pushing
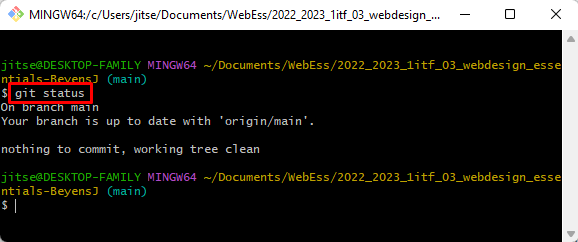
- After cloning the repo
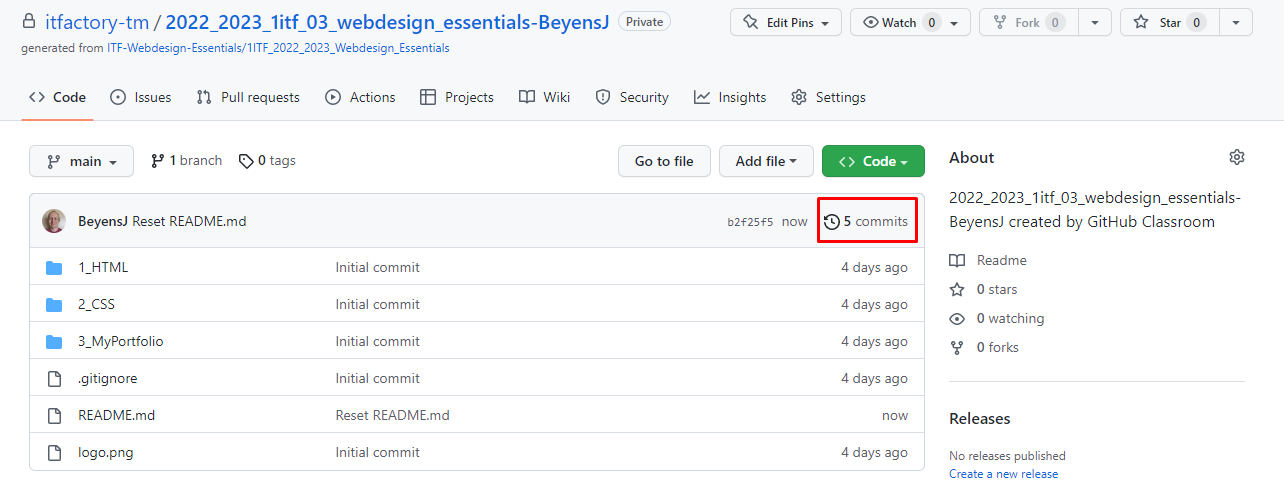
# Your repository on GitHub
- Via the GitHub-page of your remote repo, you can
- consult a lot of information (code, commit history, statistics, etc.) of the repo
- change settings of the repo
- edit the repo online
- ...
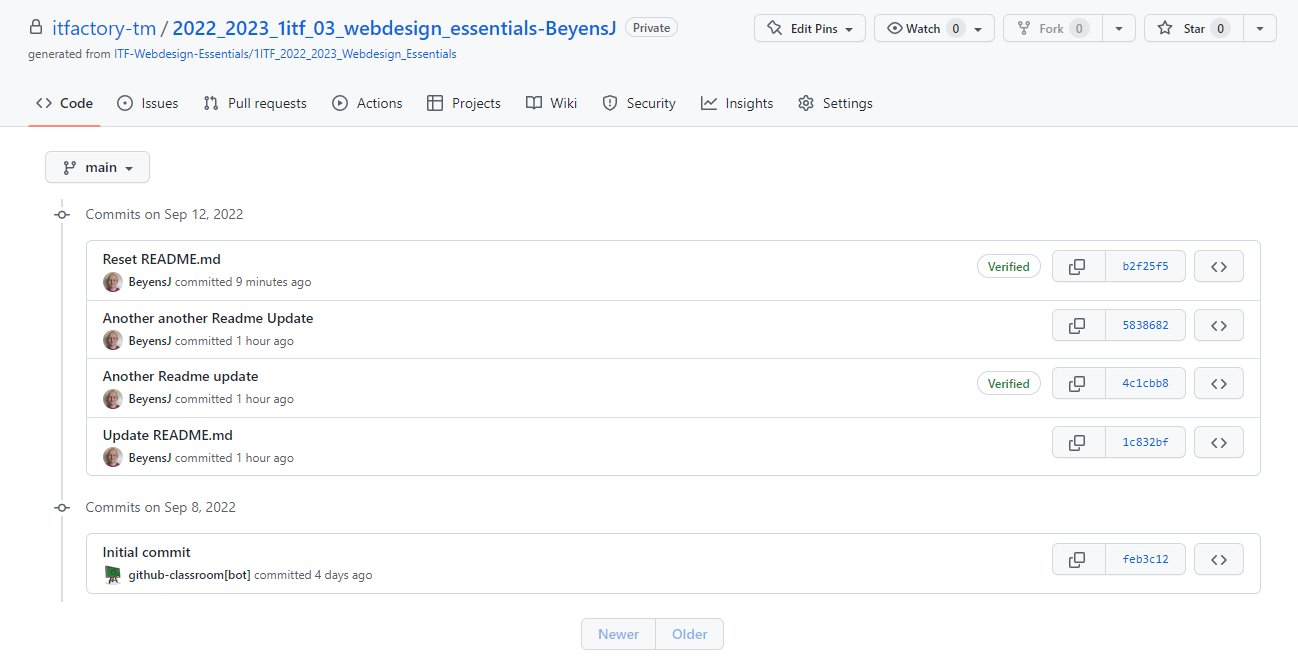
- For now, the commit history is probably the most interesting feature