# Phoenix Code Editor
- Download from Phoenix Code Editor
REMARK
- The Phoenix Code Editor is available for Mac, Windows, and Linux. Make sure to select the appropriate version for your operating system when downloading from the Phoenix Code Editor website.

# Installation
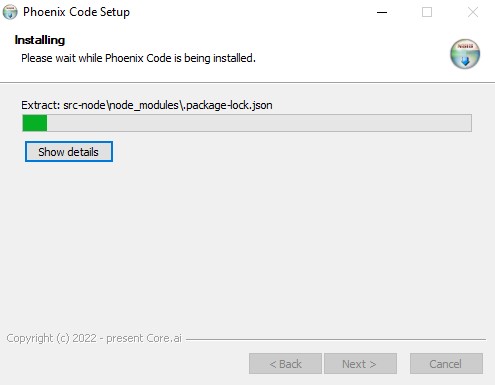
- Run the .exe installation file
- Choose a language for your editor. If available, Phoenix will automatically switch to the language that is set on your device.

- Click Next >, I Agree, Next > and Install. The program is now installing.
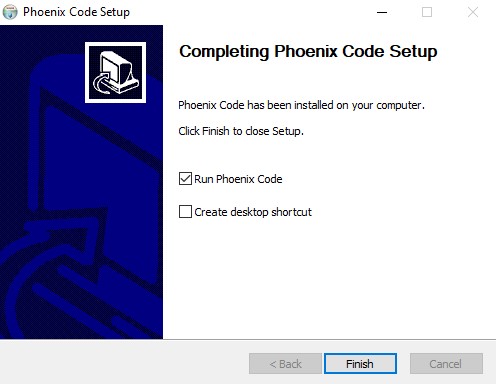
- Choose if you want a desktop shortcut or not, and click Finish.
LANGUAGE
If Phoenix opens in another language than English, please change the editor language to English (UK).
- Click on "Debug" in the top navigation bar, and select Switch Language in the dropdown menu.
- Select "English (UK)" as your preferred language and press "Reload Phoenix code".
# Extensions
Phoenix extensions are tools/functionalities we can import in Phoenix to make our life as a web developer much easier
Choose File > Extension Manger... or click the Extension Manager icon
 in the right pane to open the Extension Manager
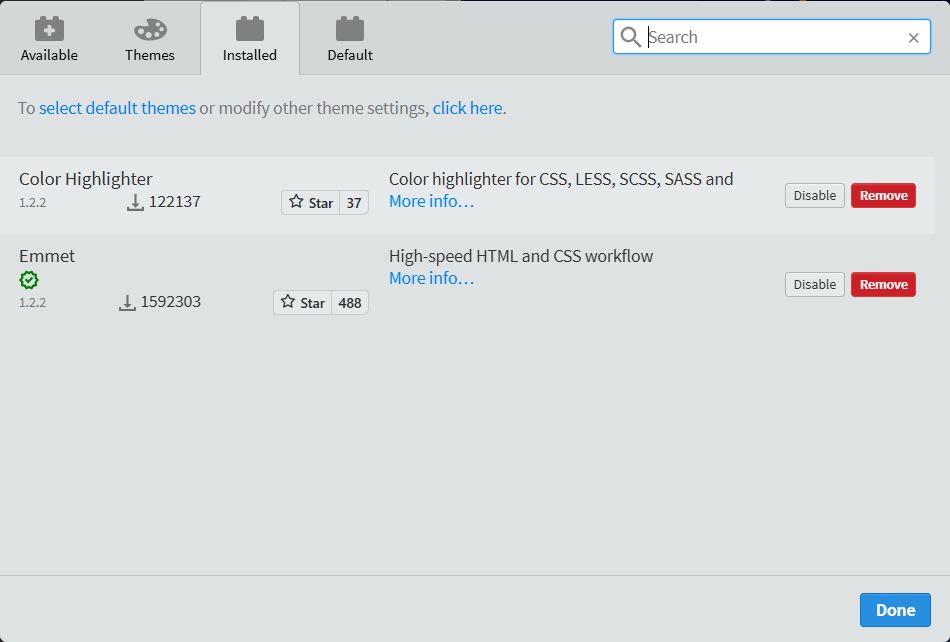
Install the following extensions:
- Emmet
- Color Highlighter
Install both by searching for them

After installing them, both plugins should be shown on the Installed tab
# Emmet
- Emmet is a plugin for many popular text editors which greatly improves a webdesigner's workflow by (amongst other things) providing abbreviations, allowing you to type less code
# Color Highlighter
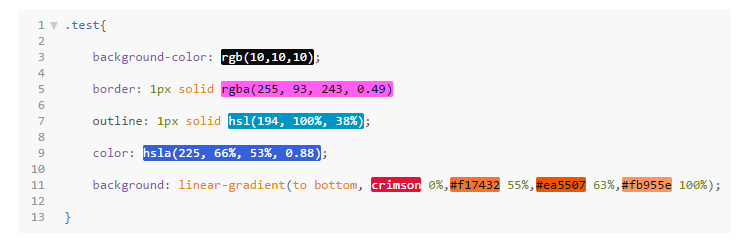
- Color Highlighter is a plugin that highlights a coded color (name, rgb, rgba, hexadecimal, ...) with the actual color:
# Features
- In the left pane, you get an overview of the files that are open (Working Files), as well as the working directory (default project)
- You can change the working directory to any directory of choice by clicking on it
# Beautify
- Beautify is a feature for Phoenix that formats your HTML, CSS and JavaScript source code
- To automatically (re)format your code
- Go to Edit > Beautify Code After Save and check that
- After every save, your code will now reformat

# Live preview
- This feature enables us to see the changes in the editor or the browser as soon as we edit the code (even without saving)
- Make sure a HTML-file is open (active), and go to File > Live Preview, use the shortcut
CTRL+ALT+Por click the Live Preview icon
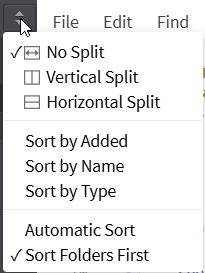
# Split screen
You can split the Phoenix window (vertically or horizontally) using the icon
 at the top right of the left pane
- As such, you can simultaneously view/edit different (HTML and CSS) files
- You can move opened files from the top to the bottom pane (or from the left to the right pane) or vice versa by dragging and dropping the file name

# Shortcuts
| shortcut | action |
|---|---|
CTRL+ALT+B | Beautify code |
CTRL+ALT+P | Start Live Preview |
CTRL+SHIFT+A | Surround code with ... |
CTRL++ | Increase font size |
CTRL+- | Decrease font size |
CTRL+/ | One line comment |
CTRL+SHIFT+/ | Multi line comments |
CTRL+E | Quick edit CSS style on element |
ALT+click | Multi cursors |